


Measuring Automotive Bearing Clearances with Plastigauge
CLICK HERE to BUY PLASTIGAUGE TODAY
Application: Plastigauge is widely used in automotive maintenance to measure the clearance between a crankshaft journal and its plain bearing shells.
Step 1: Access the Bearings
- Remove the engine sump cover to expose the big-end bearings and retaining set screws.
- Clean away surplus oil around the area.
Step 2: Prepare the Bearing
- Unscrew the retaining set screws and release the bearing shells.
- Wipe the journal and bearing shell surface completely clean.
Apply:
- A thin smear of grease to the journal.
- A small amount of silicone release agent to the shell.
Step 3: Place Plastigauge
- Cut a piece of Plastigauge to the correct length (across the journal).
- Position it on the journal, using the grease to hold it in place.
Step 4: Reassemble and Tighten
- Refit the bearing shell.
- Tighten the retaining set screws to the manufacturer’s torque specification.
⚠️ Do not rotate the journal during this step.
Step 5: Measure the Clearance
- Remove the bearing shell again.
- The Plastigauge will now appear as a flattened stripe across the journal/bearing surface.
- Compare the width of the stripe with the calibrated gauge card supplied with Plastigauge.
- Read the corresponding bearing clearance value.
Step 6: Clean Up
- Ideally, remove all traces of Plastigauge with a clean oily cloth or an industrial degreasing solvent.
- Any residue left is oil soluble and generally harmless to lubricated metal surfaces.
✅ Tip: Proper clearance ensures correct lubrication and prevents bearing wear or seizure. Too much clearance reduces oil pressure, while too little clearance risks overheating and scuffing.
-
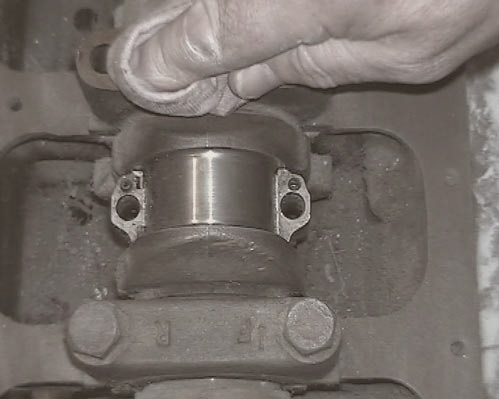
Fig. 1 It is recommended that surfaces be clean prior to use of Plastigauge -
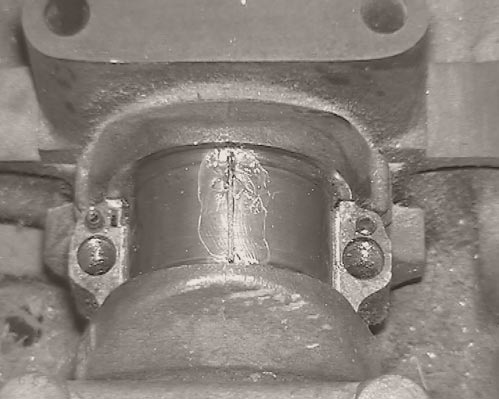
Fig. 2 Plastigauge placed across the bearing surface -
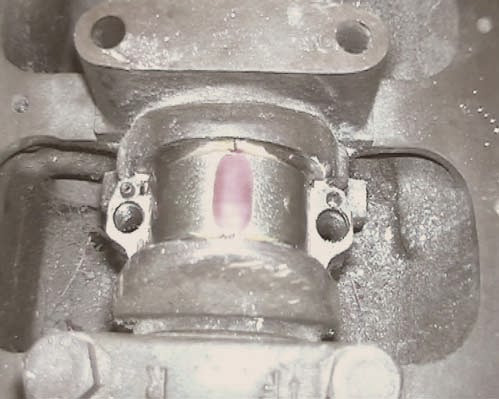
Fig. 3 Compressed Plastigauge ready for measurement. -
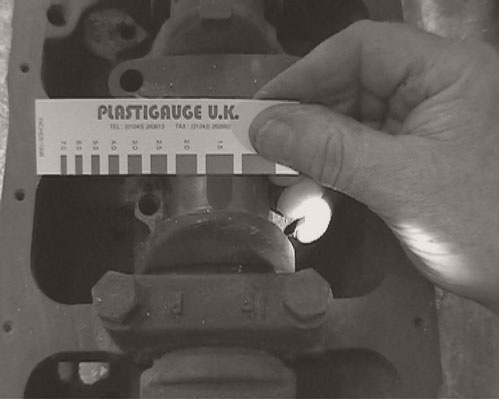
Fig. 4 De-formed Plastigauge compared with calibrated scale.